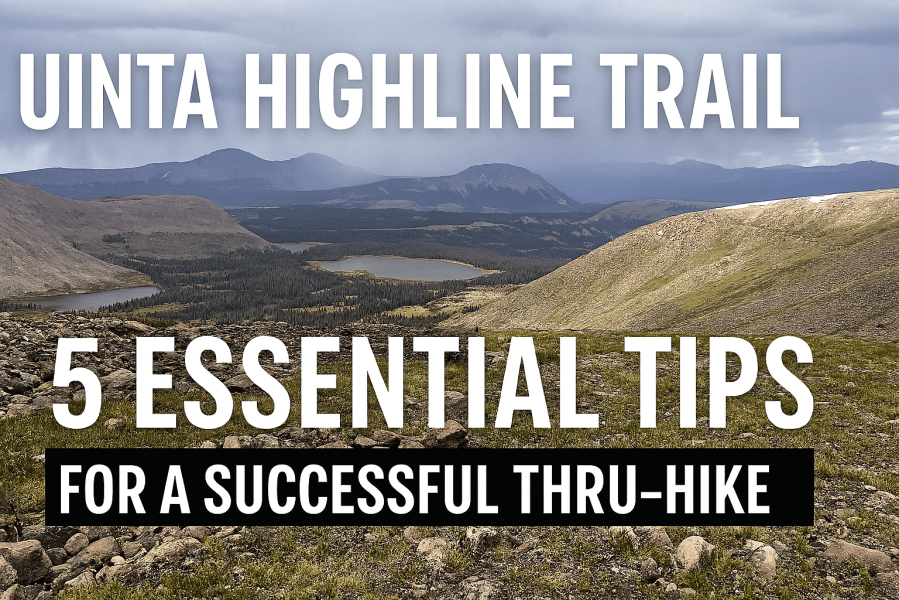
The Uinta Highline Trail isn’t just another backpacking trip—it’s a high-altitude, remote, and physically demanding 104-mile journey across the stunning Uinta Mountains of Utah.
I had two shots at completing it. The first year? I didn’t make it. The second year? I did—and I learned more from that failure than I ever expected.
In my latest video, I break down the five biggest lessons that helped me successfully complete the trail. This post is a condensed guide to what I share in the video—plus a few highlights to help you decide if this trail belongs on your bucket list.
1️⃣ Trail Overview: Know What You’re Signing Up For
The Uinta Highline Trail is:
~104–105 miles long 16,700 feet of total elevation gain Average elevation around 10,700 feet Highest point: Anderson Pass (12,700 ft) Typical completion time: 7–10 days
You crest 10,000 feet quickly—no matter which direction you start. This is not a casual hike. The altitude alone makes it serious business.
One key decision: Eastbound or Westbound?
I started in the east near Vernal, Utah to gradually gain elevation. That decision made a big difference for acclimatization and overall energy management.
2️⃣ Preparation & Planning: What I’d Do Again (and What I’d Never Skip)
✅ Go Mid-July Through Early September
July worked well for me—but even in mid-July, I needed microspikes for snow on one of the passes.
My first year, I skipped them. Big mistake.
Snow + steep passes = real danger.
✅ Plan Your Logistics Carefully
Shuttles are limited and expensive (3+ hour drives for drivers). I flew into Vernal for convenience and stored extra gear in a small rental unit while hiking. It simplified everything.
✅ Study Maps Like It’s Your Job
This trail isn’t always obvious. In some areas, it disappears.
I used:
Digital navigation (OnX) A paper map backup My solar watch loaded with daily GPX tracks
Redundancy matters. This is remote country.
3️⃣ Gear & Essentials: Go Light or Pay for It
You’ll likely carry 7–10 days of food. I carried 8.
That’s heavy.
To compensate, I aimed for a base weight near 10–15 lbs and used a 60L pack. If your base weight is high, this trail will punish you—especially at 10,000+ feet.
Key Considerations:
Water:
Early miles can be dry. I did 4–5 liter carries. Later sections had more water—but livestock contamination is possible. Use solid filtration.
Bear Safety:
Bear canisters aren’t required, but good food storage practices matter. I used bear hangs and odor-proof bags.
4️⃣ Trail Challenges: The Real Test
🏔 Altitude
Average elevation: 10,700 feet.
Talk to your doctor if you’ve had altitude issues.
We intentionally:
Spent a full day acclimating at ~8,200 ft Moved slowly the first few days
That patience paid off.
⛈ Weather Is Unpredictable (Seriously)
Every day around 11am, storms rolled in.
Hail (marble-sized) Temps from 80°F to the 30s High winds All-day rain systems
This isn’t quick Sierra-style afternoon showers. Some storms lasted all day and into the night.
If I did it again, I’d bring rain pants (which I almost never do).
Your tent must handle wind. Mine did—and that gave me confidence during brutal nights.
🧗 Steep, Rocky Passes
Some passes are no joke.
Three days after we finished, I heard about a mule that fell off one of the passes. That tells you something.
Add snow to that terrain? You need traction and skills.
5️⃣ Final Takeaway: Respect the Trail, But Don’t Fear It
The Uinta Highline Trail is:
Remote High Physically demanding Incredibly beautiful Wild in a way that few trails still are
It rewards preparation and punishes carelessness.
My first attempt taught me humility.
My second attempt taught me respect.
If you’re considering this hike, watch the full video where I go deeper into:
Daily pacing strategies Exact gear considerations Navigation breakdowns Weather lessons Mistakes I made
👉 Watch the full video to avoid the mistakes I made and plan your own successful Uinta Highline thru-hike.
